Importing Data
Import records into a table from a CSV or Excel file. Use it to load reference data such as a list of districts, to bring in data collected elsewhere, or to update many records at once.
Prepare the file
Make a file with one row per record and one column per field. The first row holds the column names.
- Match the column names to the field names or labels where you can. 3D matches them for you, and you correct the rest.
- For a Relation field, the column holds a value that identifies the related record, such as its name. You choose which field of the related table to match it against.
- For a Select field, the column holds the option value or its label.
- For a Multi-Select field, separate the values with a comma.
- For a Date field, use a full date such as 2026-03-31.
- For a Phone number field, 3D keeps the digits only.
Tip
The quickest way to get the right columns is to export the table first. See Exporting data. Delete the rows, fill in your data, and import the file.
Import from CSV or Excel
- Open the table's records page.
- Click Import Data in the top right corner and choose CSV or Excel.
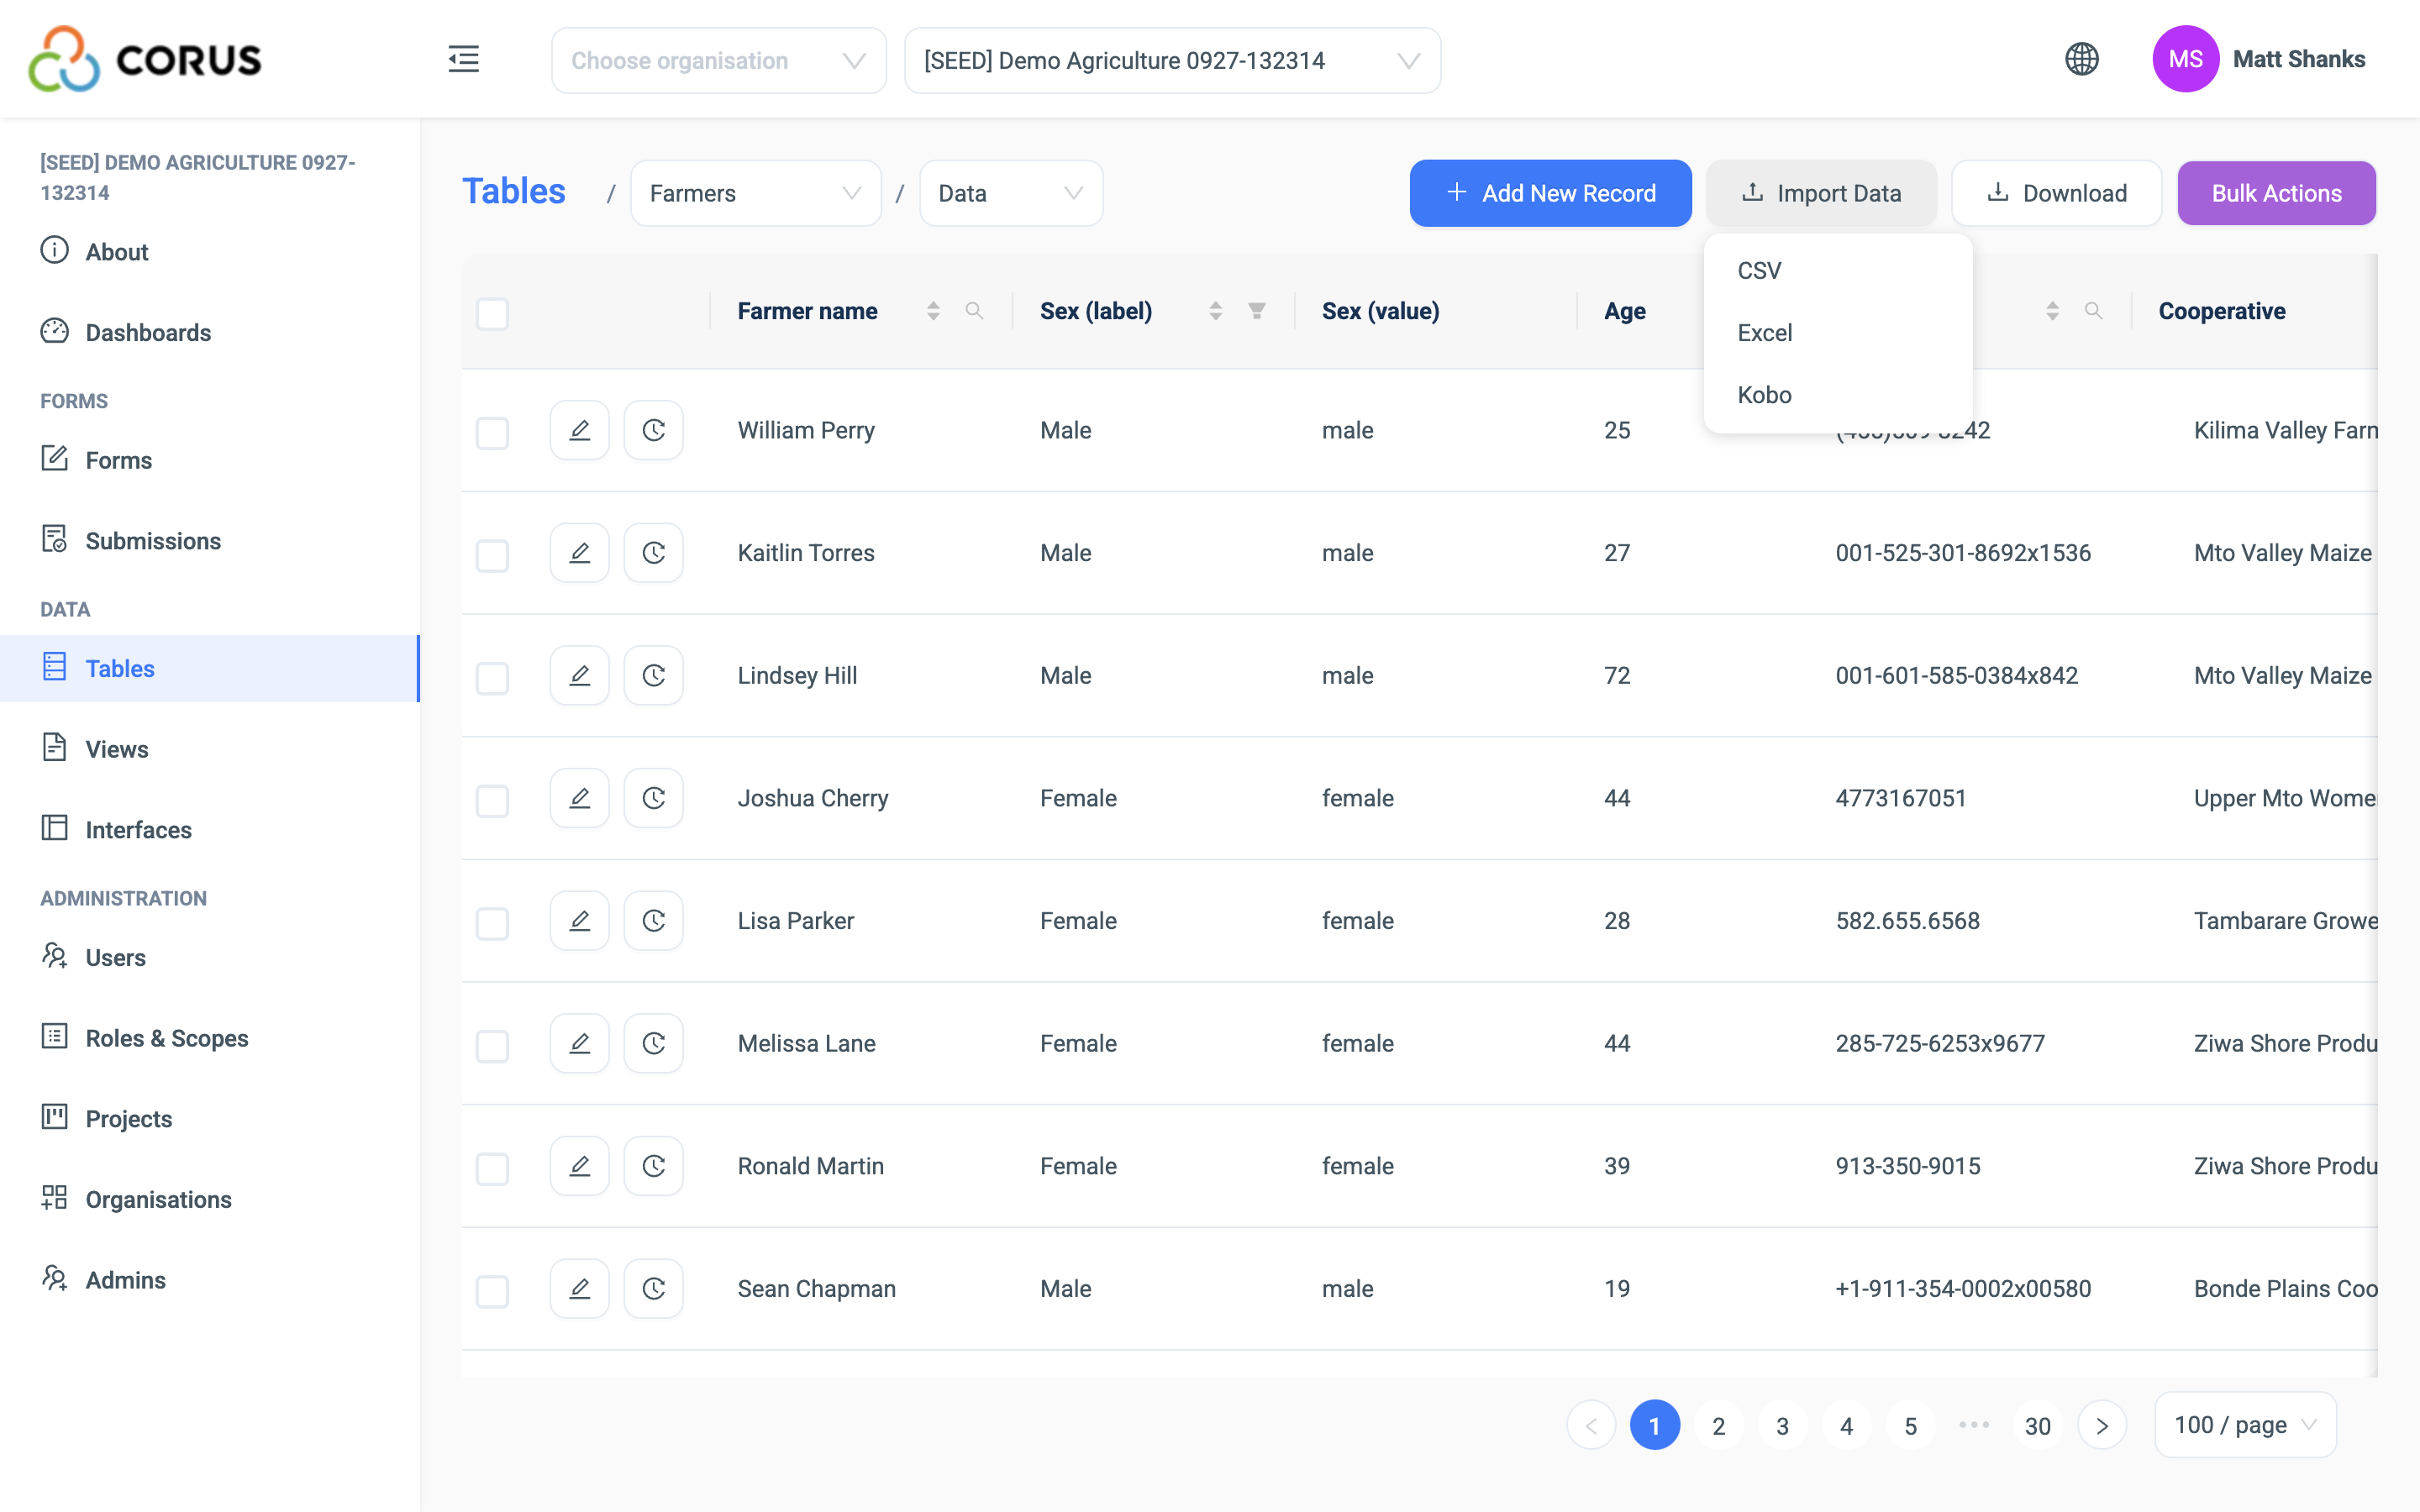 3. Choose the file. The import dialogue opens with the mapping.
Mapping fields
The dialogue lists the table's fields under System Field. Next to each one, under Upload Field, choose the column of your file that holds its values. 3D fills in the columns with matching names. Preview Data shows the first values from the chosen column, so you can check the match.
Tick Ignore next to a field to leave it out of the import.
For a Relation field, also choose the match field. This is the field of the related table that your column's values are compared with. For a Farmers column that holds cooperative names, the match field is the Cooperatives table's name field.
Updating records that exist
The dialogue asks Match to override pre-existing records?
- No: every row becomes a new record.
- Yes: 3D looks for a record that matches each row, and updates it. A row with no match becomes a new record. Choose the column of your file and the field of the table to match on. The usual pair is the record's system id, which an export gives you in its last column.
Validation
Tick Apply Validation to check every row against the fields' rules, such as required, minimum, maximum and the sub-type of a Text field. A row that fails is not imported.
Without validation, 3D imports every row as it is.
Run the import
Click Import. 3D reads the file and creates or updates the records. A calculated field is worked out for each imported record.
When every row is accepted, 3D confirms that all records are imported.
Handling import errors
When some rows fail validation, 3D reports how many, and offers a file of the rows that were not imported, with the reason for each. Download it, correct the rows, and import that file again. The rows that passed are already in the table.
Import from Kobo
Choose Import Data, then Kobo, to bring records from a KoboToolbox form into the table. Enter the Kobo Server URL and the Form ID, then map the fields as above and import.
Importing a structure
To create the fields of a table, rather than its records, open the table's Structure page and click Import Structure or Import Kobo.
| Source | What 3D does |
|---|---|
| CSV or Excel | Reads the column headings of the first row and creates a field for each one, with the heading as its label. Set the types afterwards on the Structure page. |
| Kobo | Enter the Kobo Server URL and the Form ID. 3D reads the form's questions and creates a field for each one. |
3D does not import an XLSForm as a form. Import Structure adds to the fields that exist. Check the result before you add records.