Data Tables
A data table stores records. Each row is one record, and each column is one field. Every form writes to a table, and a table can exist on its own, as reference data that forms link to.
The Tables page in the main navigation lists the tables in your project, with the number of fields and records in each, its status, and its creator.
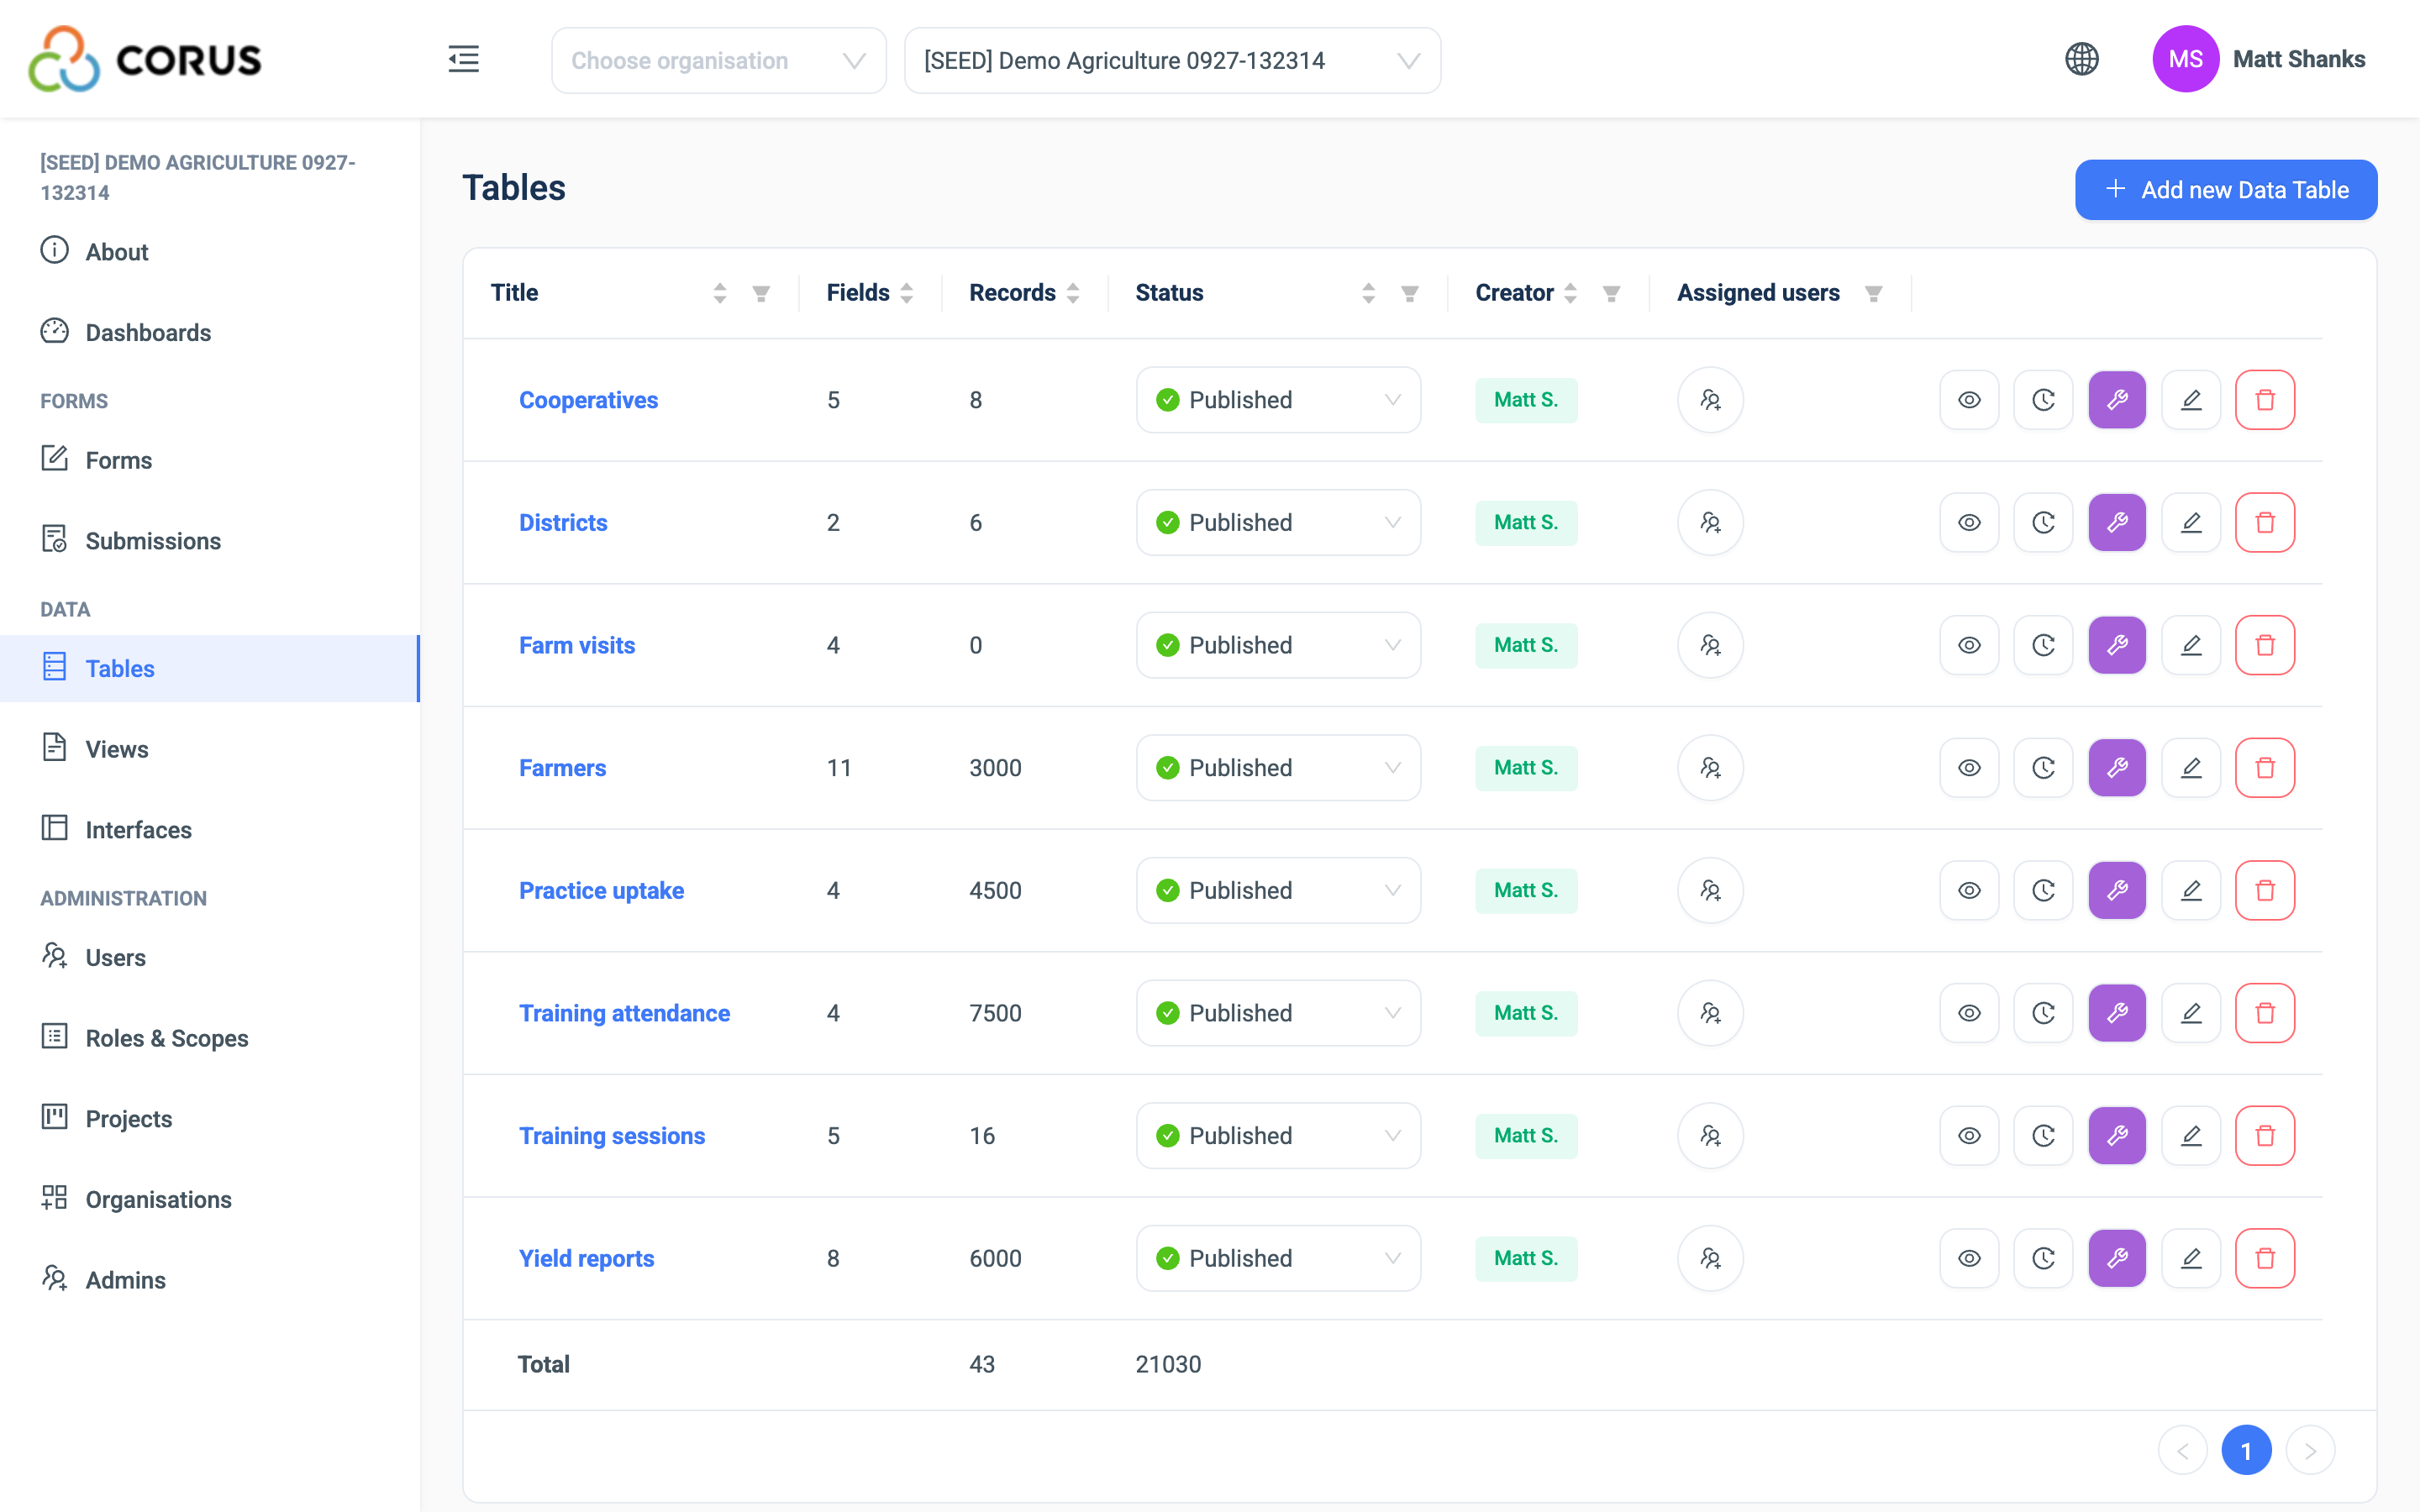
Click a table's title to open its records. See Records. Each row also has five buttons.
| Button | What it opens |
|---|---|
| Eye | The records. |
| Clock | The table's history. See Record History. |
| Purple wrench | The Structure page. |
| Pencil | The table's settings. |
| Red bin | Deletes the table. |
Understanding a project's data model
When you join a project that already has tables, start here. The Tables page lists every table. To see where a Relation field points, open the table's Structure page and click the field's edit button. The list itself shows the type only. A table filled by a Nested Form or a Matrix is an ordinary table with a Relation field back to the parent table, labelled with the parent table's title. A Toggle field also has a child table that logs each change. The Dimensions tab under Roles & Scopes shows which tables scope the data.
The 3D team can share a diagram of a project's tables and relations on request.
Plan your tables
Before you build, decide what is a table and what is a form.
- Reference data, such as villages, schools or crop types, is a table you create and fill first.
- Each event you record, such as a visit or a training session, is a form with its own table.
- A link between them is a Relation field on the event's table.
- Attendance at an event is a Nested Form in Multi-Select mode. See the worked example.
Creating a table
Most tables are created by a form. When you create a form with Create a new data table, 3D makes the table and keeps it in step with the form. See Creating a form.
Create a table yourself when the data does not come from a form. Reference data such as districts, schools or crop types is the usual case. Your team imports it once, or adds records by hand, and forms link to it with Relation questions.
- On the Tables page, click Add new Data Table.
- Enter the Title and click Create.
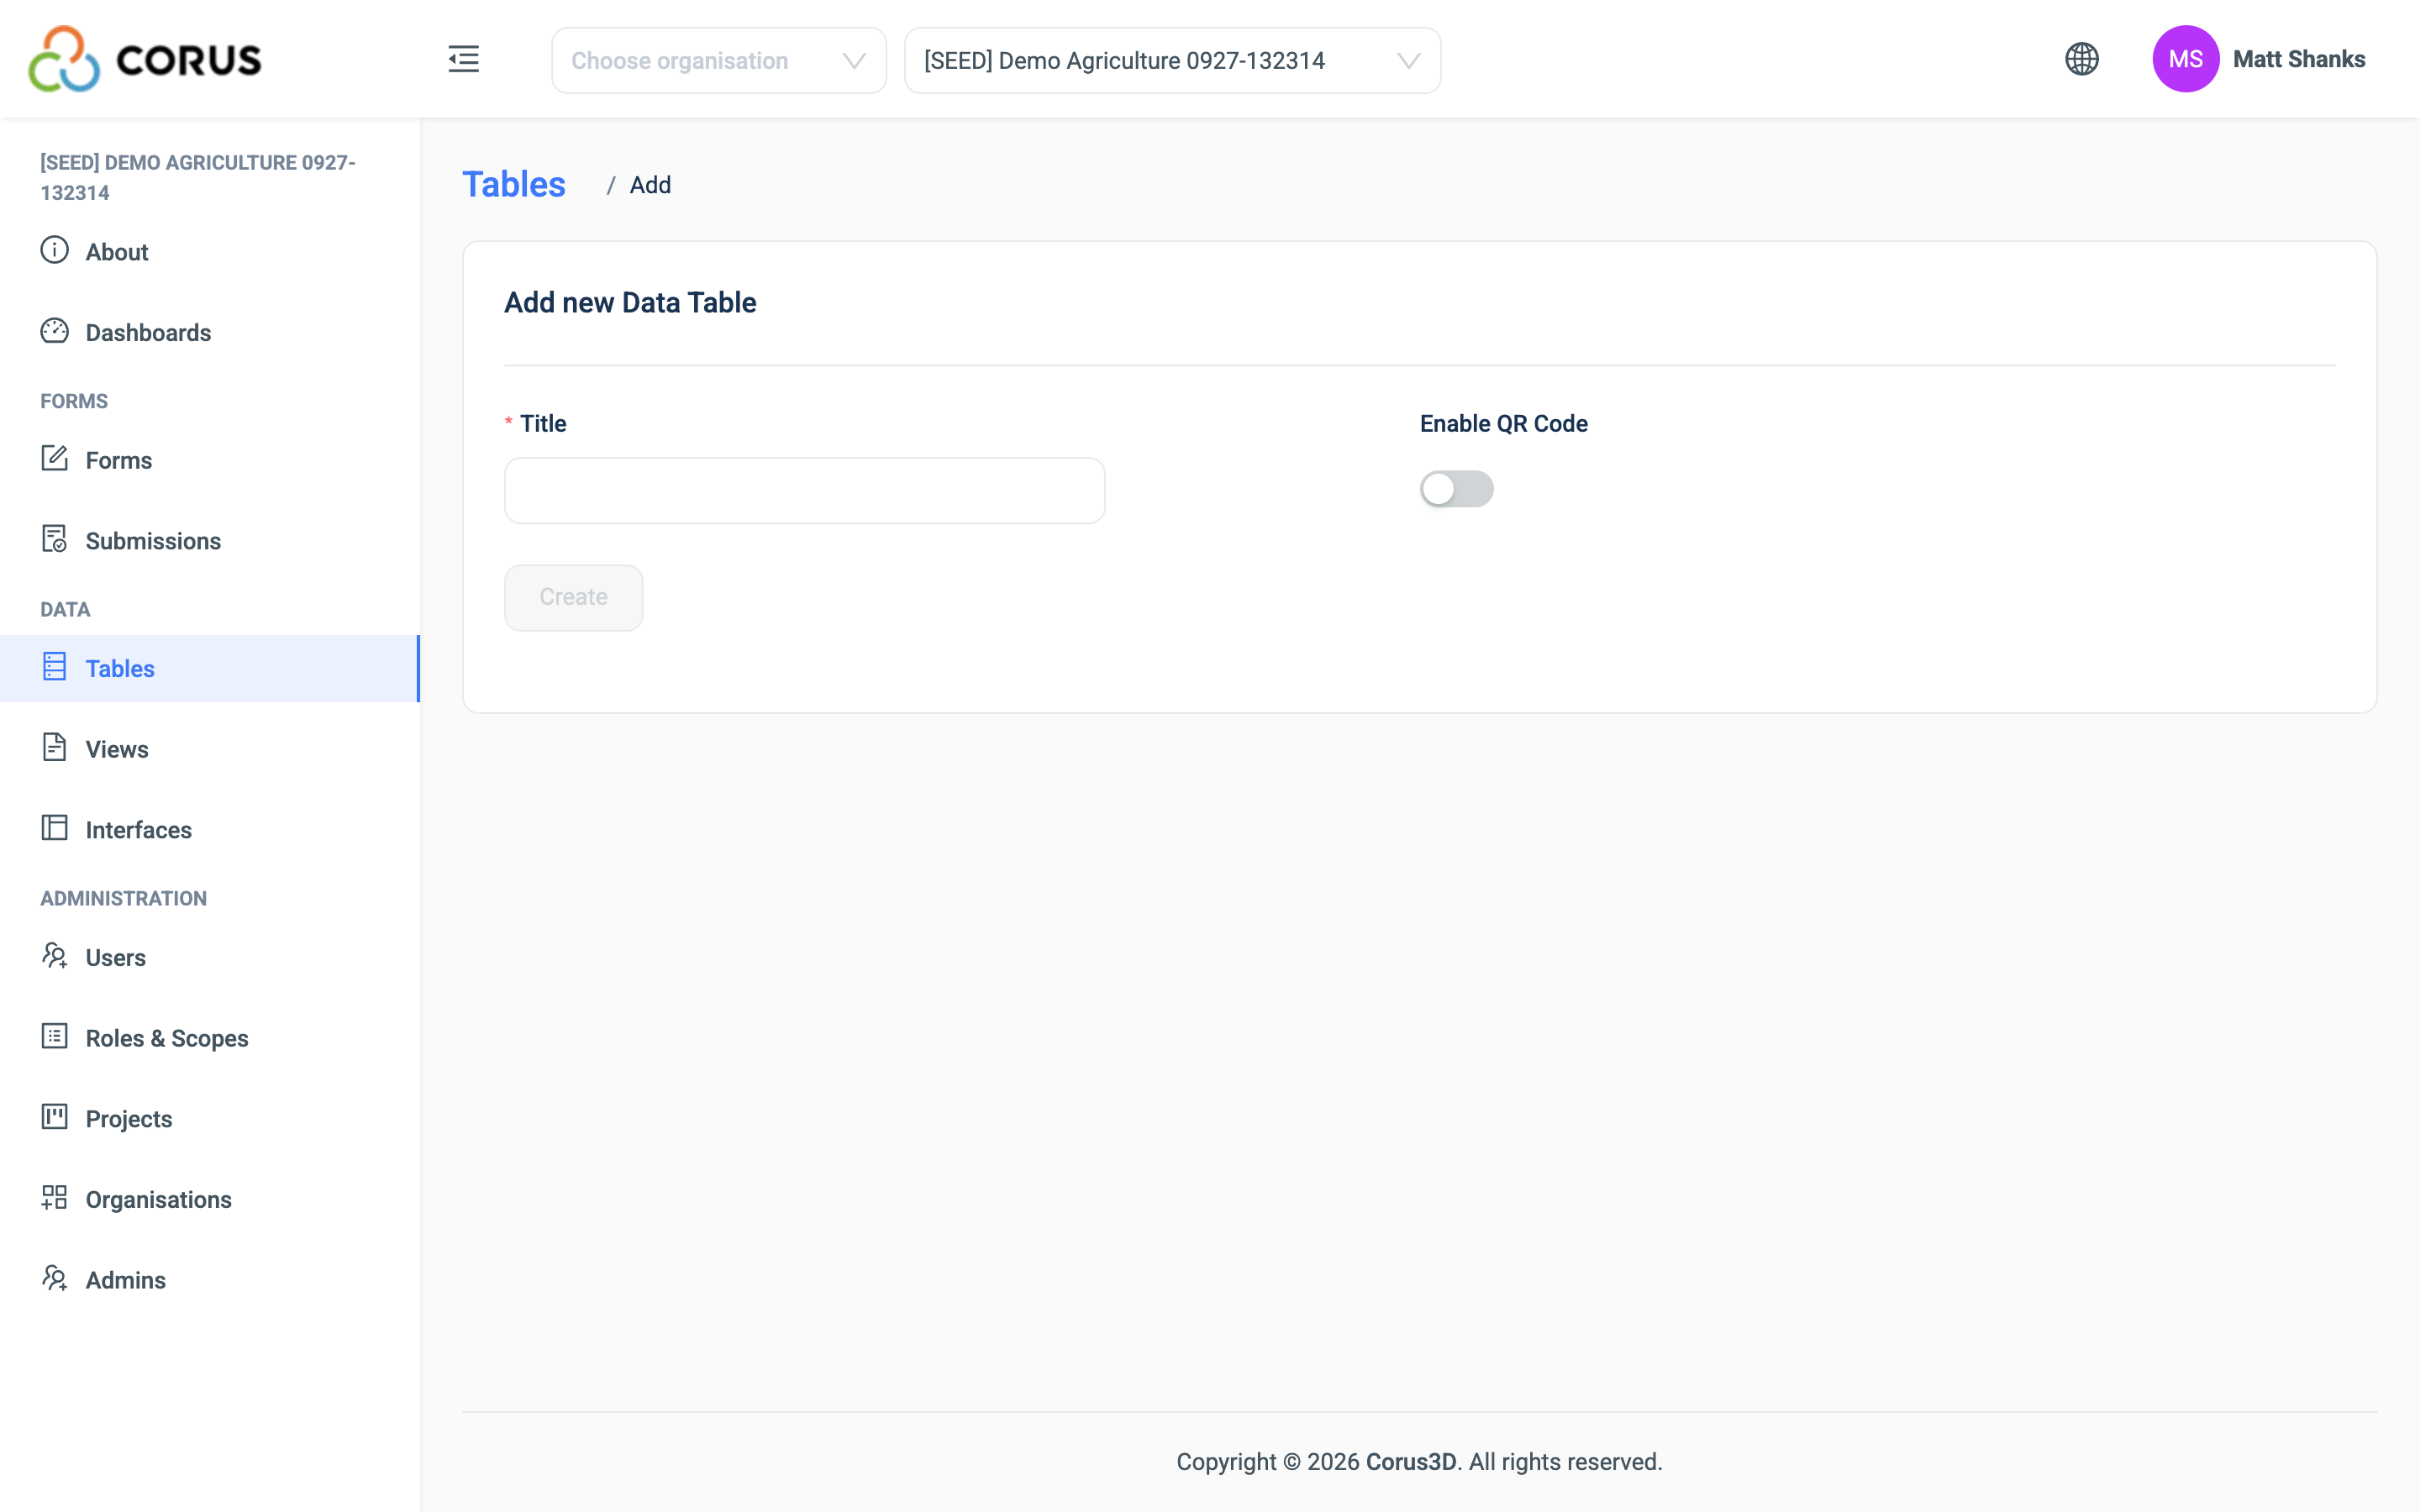
The table has no fields yet. Add them on the Structure page.
The create page also has an Enable QR Code switch. With it on, every record in the table gets a QR code that opens the record's public page. The 3D app shows the code after a record is sent, and a user can scan it to pick the record in a Relation question. See QR codes.
When you edit the table later, two more settings appear.
| Setting | Description |
|---|---|
| Display Fields | The fields that represent a record elsewhere in 3D. See Display fields. |
| Status | Draft, Published or Closed. See Table status. |
Display fields
When a record appears outside its own table, 3D shows its display fields. A Relation question shows them in its dropdown. A View and an export show them in the related column. A Farmer record with the display field Farmer name appears as "William Perry", not as an id.
Choose one or more fields. With several, 3D joins the values with a space. If you set none, 3D uses the first text or number field.
Set the display fields with the table's edit button on the Tables page, after you create it.
Table status
A table has the same three statuses as a form.
| Status | Meaning |
|---|---|
| Draft | The table is being set up. |
| Published | The table is in use. |
| Closed | The table keeps its records, but it is no longer in use. |
The status is a label. It marks the stage of the table and lets you filter the list. It does not stop anyone from adding or editing records.
Structure
The Structure page lists the table's fields, with the name, label, placeholder, help text, type and whether it is required. Click the purple wrench button on the table's row on the Tables page. Or open the table's records page and choose Structure in the dropdown next to the table's name at the top.
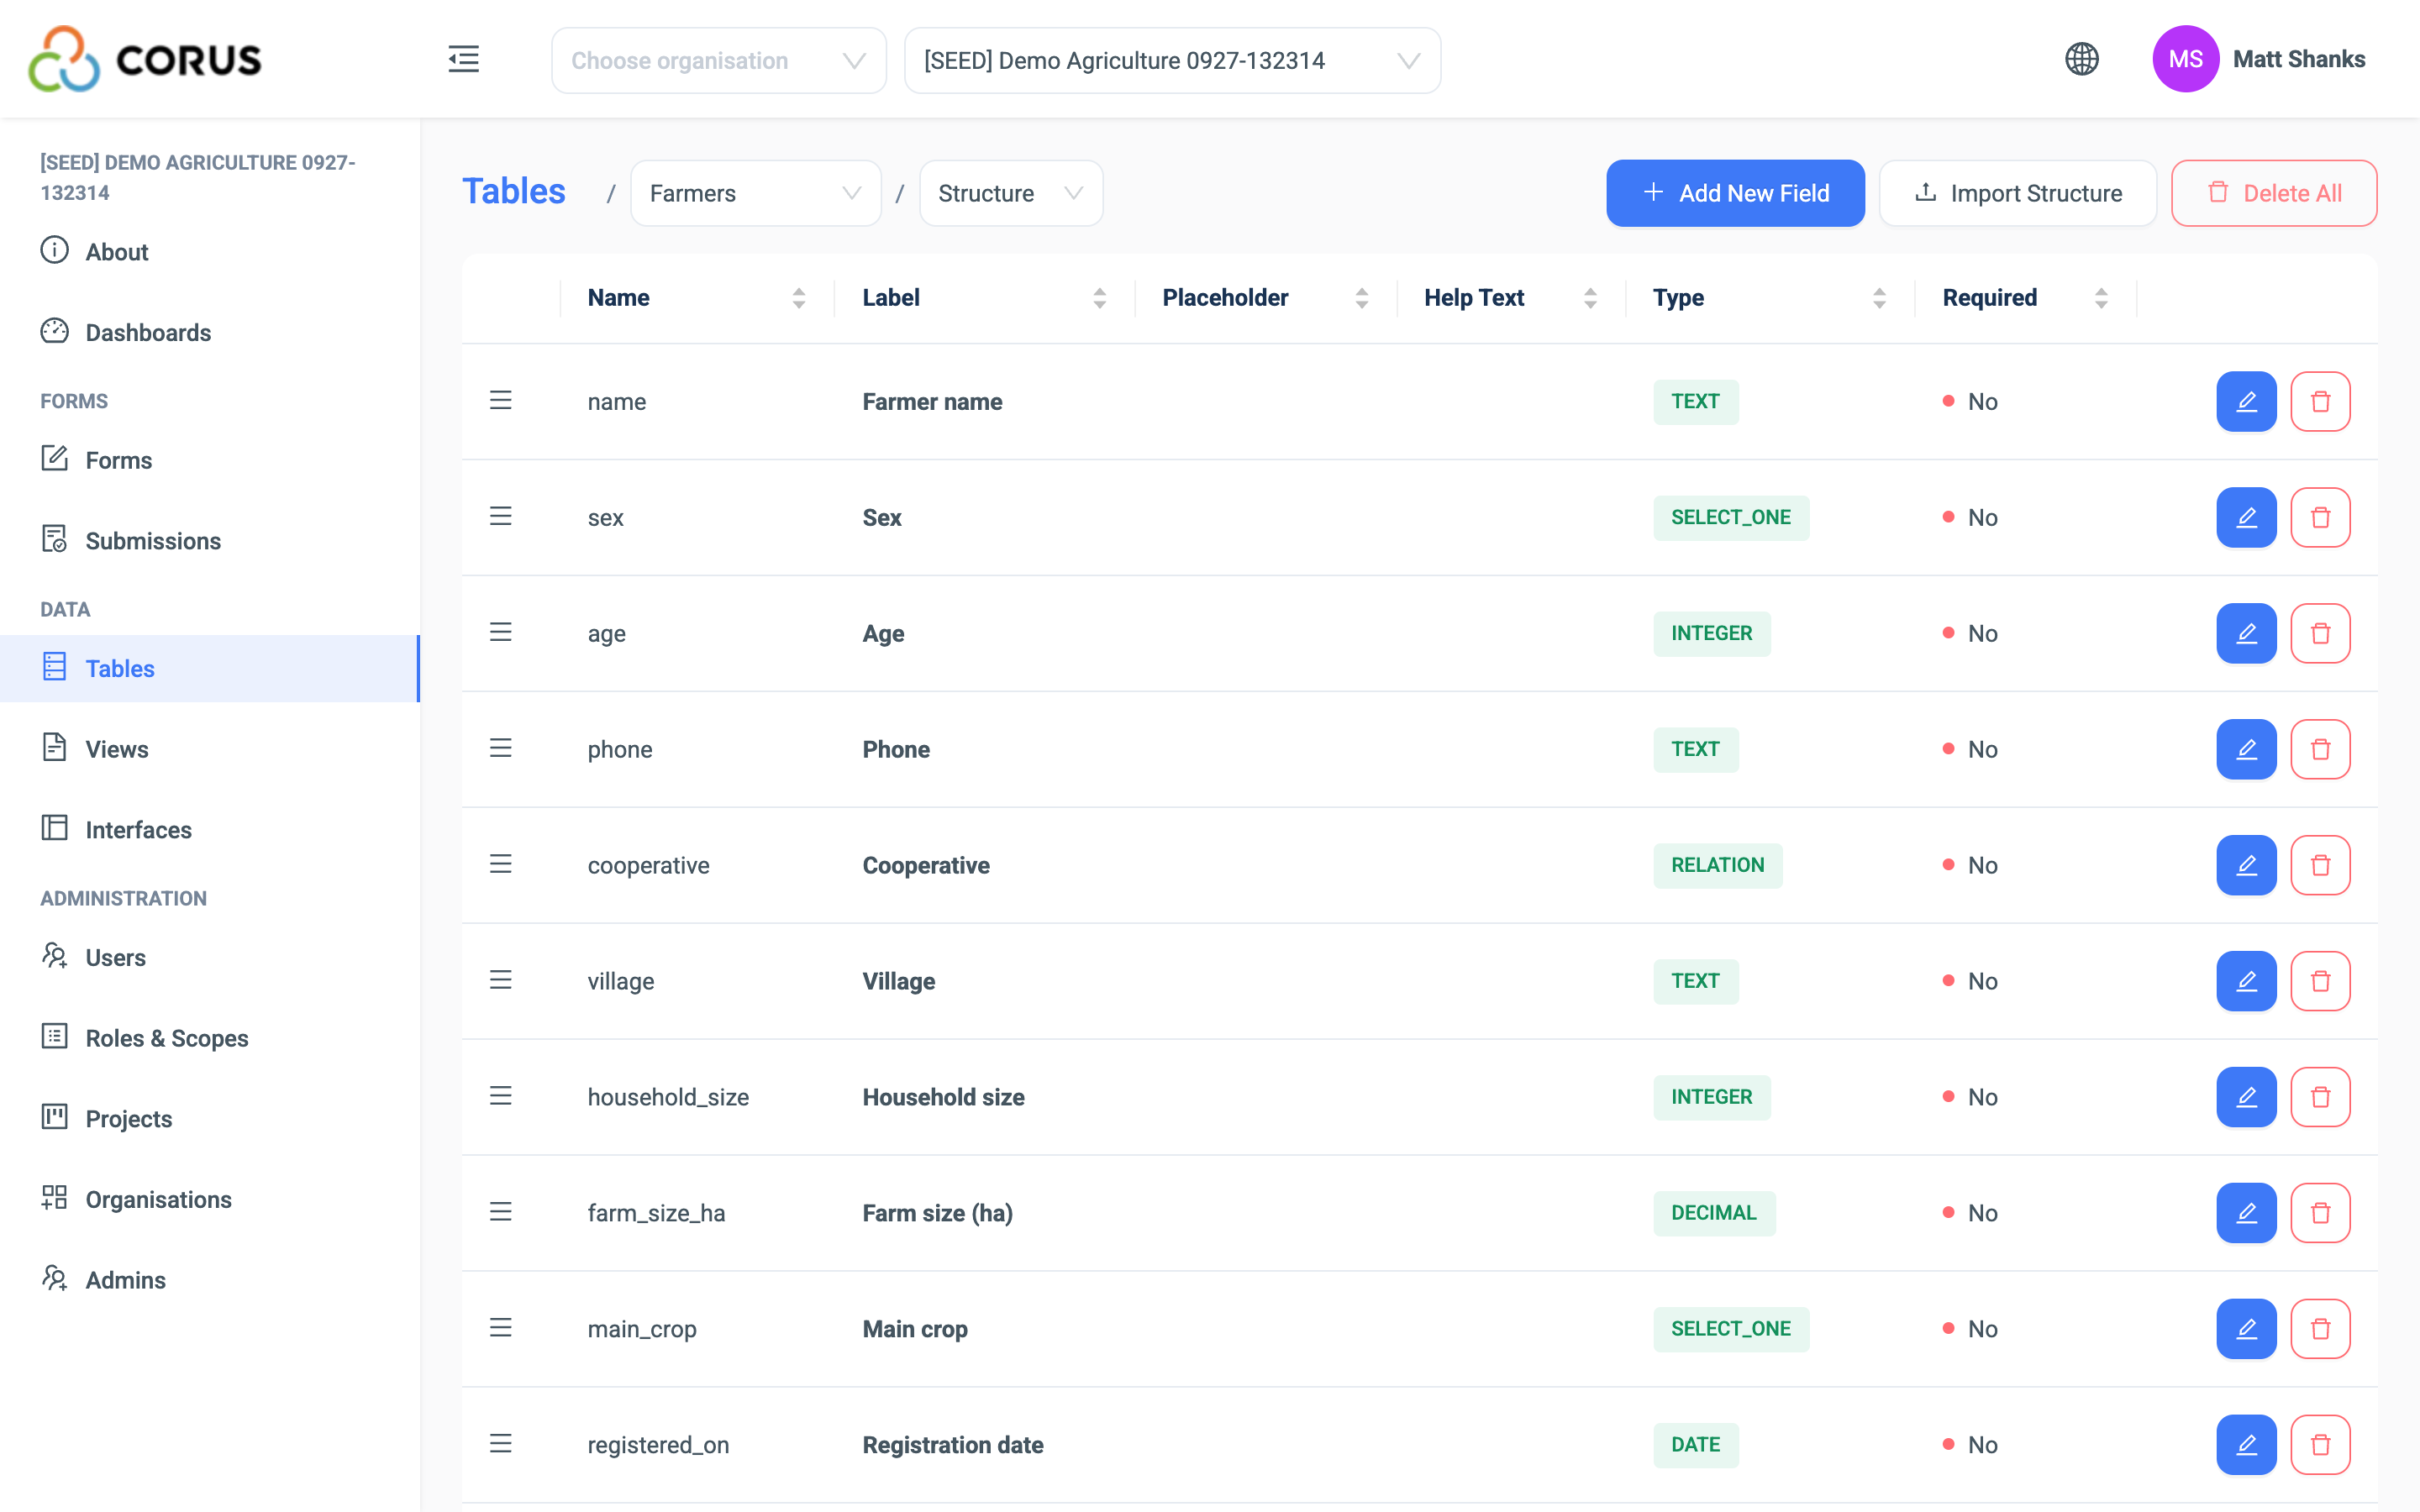
The fields of a table are the questions of the forms that write to it. A table can have several forms. Each form can hide a field, or leave it off the form with the Enable field switch. A change here changes every form, and a change on a form changes the table. See Adding a question for every setting of a field.
Adding a field
Click Add New Field. The same dialogue opens as for a new question on a form. Enter the Name, the Label and the Type, and save. The new column is empty for the records that exist.
Editing a field
Click the blue edit button on the field's row. You can change every setting.
Warning
When you change a field's type, the values already stored may no longer fit. See the warning under Editing a question.
Reordering fields
Drag a field by the three-line handle at the left of its row. The order here is the order of the columns in the records page and the order of the questions on the form.
Deleting a field
Click the red delete button on the field's row and confirm. This deletes the column and every value in it. If a calculated field reads the field, 3D warns you first.
Delete All removes every field from the table. Use it only on a table you are setting up.
Import Structure
Import Structure creates the fields from the column headings of a CSV or Excel file, and Import Kobo from a KoboToolbox form. See Importing a structure.
Editing a table
Click the edit button on the table's row on the Tables page. You can change the title, the display fields, the status and the QR code setting.
Deleting a table
Click the red delete button on the table's row and confirm.
Warning
Deleting a table is permanent. Every record in it is lost. Forms that write to the table stop working, and Relation questions that link to it have no options.
Export the records first if you may need them. See Exporting data.